Contouring and highlighting are two makeup techniques that can completely transform your face, adding depth and definition to your features. While they may seem intimidating at first, with the right tools and techniques, anyone can master these makeup skills. Here’s a step-by-step guide on how to contour and highlight your face like a pro.
Step 1: Choose the Right Products
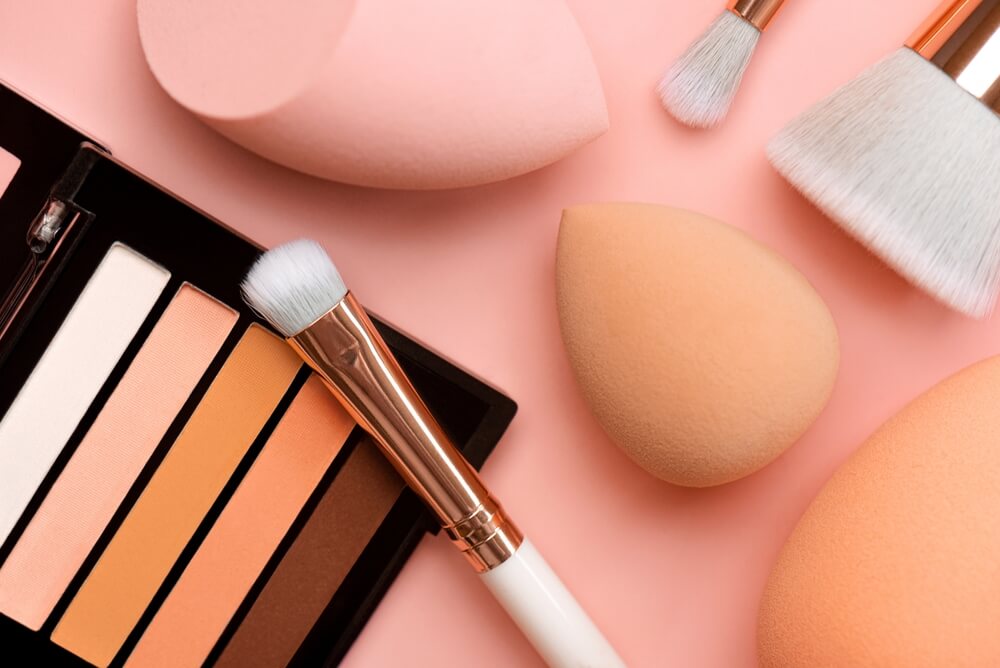
The key to a flawless contour and highlight is choosing the right products. You’ll need a contouring powder or cream that’s one or two shades darker than your skin tone. And you’ll need a highlighting powder or cream that’s one or two shades lighter. You can also use a concealer for highlighting, but make sure it’s a shade lighter than your skin tone.
When it comes to selecting the right contouring product, it’s important to consider your skin type. If you have dry skin, a cream or liquid contouring product may work better for you, as it will blend more easily into your skin. If you have oily skin, a powder contouring product may be better, as it will help to absorb excess oil and prevent shine.
Similarly, when choosing a highlighting product, consider your skin type and personal preferences. If you have dry skin, a liquid or cream highlighter may work best for you, as it will provide a dewy, radiant finish. If you have oily skin, a powder highlighter may be better, as it will provide a matte finish that won’t contribute to shine.
Step 2: Prep Your Skin
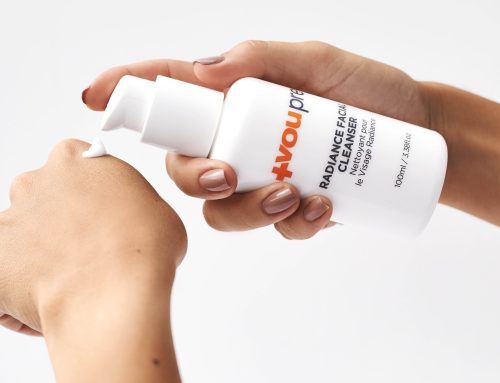
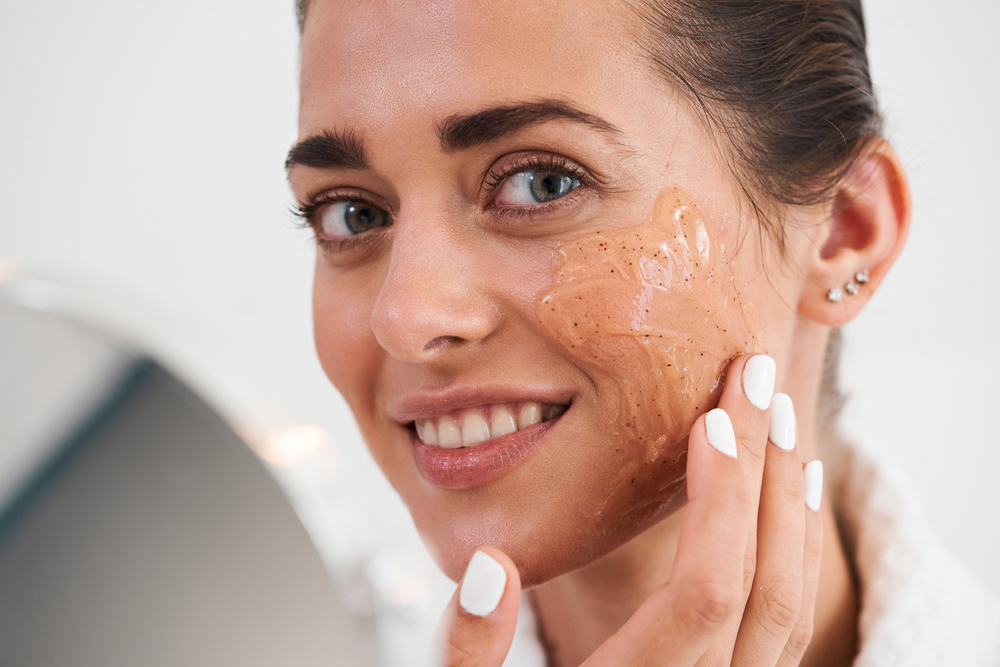
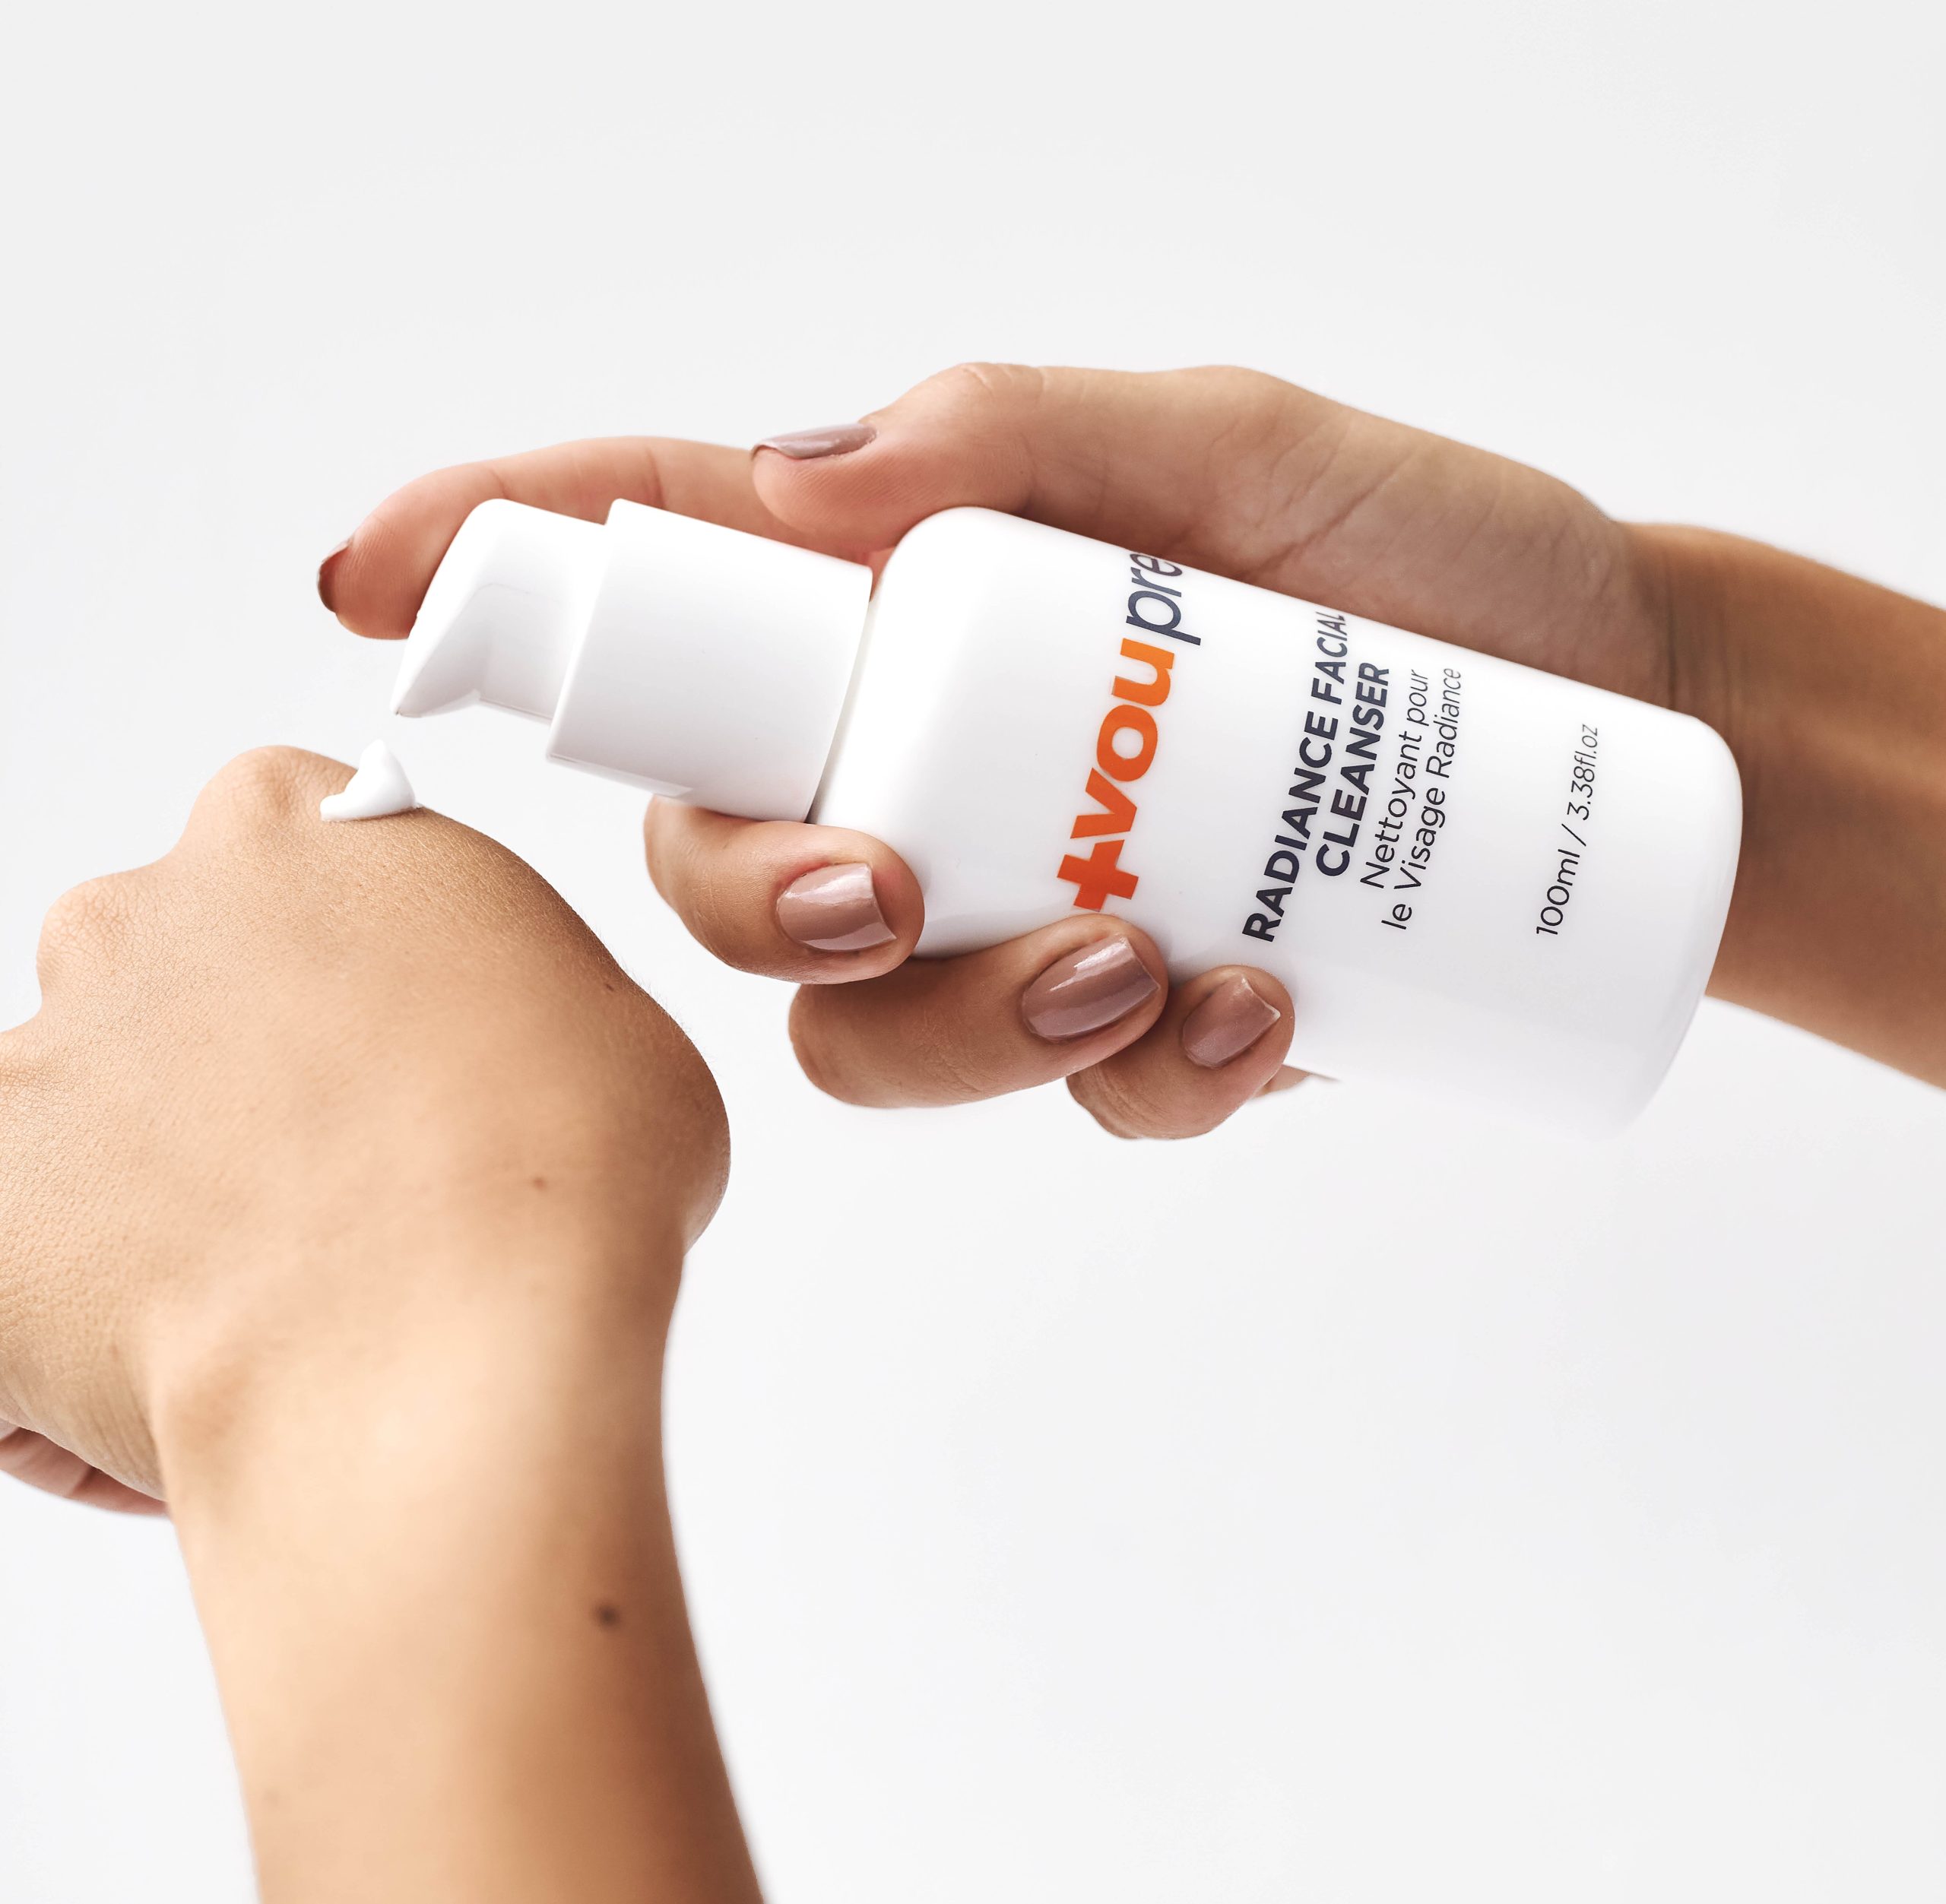
Before you begin contouring and highlighting, it’s important to prep your skin properly. Start by cleansing and moisturizing your face, then apply your foundation and concealer as you normally would. Make sure your base makeup is blended seamlessly, as this will make your contour and highlight look more natural.
Another important step in prepping your skin for contouring and highlighting is to consider your skin tone. If you have a warm or cool undertone, select a contouring product that complements your undertone. Similarly, choose a highlighting product that complements your skin tone to achieve a natural-looking glow.
Step 3: Contour Your Face
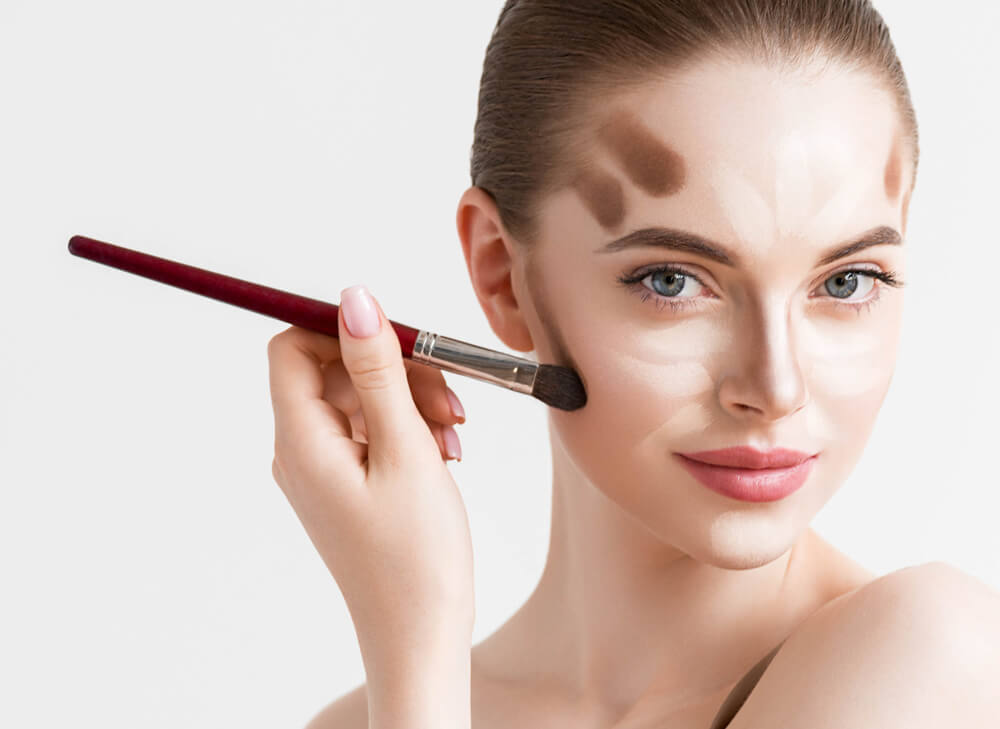
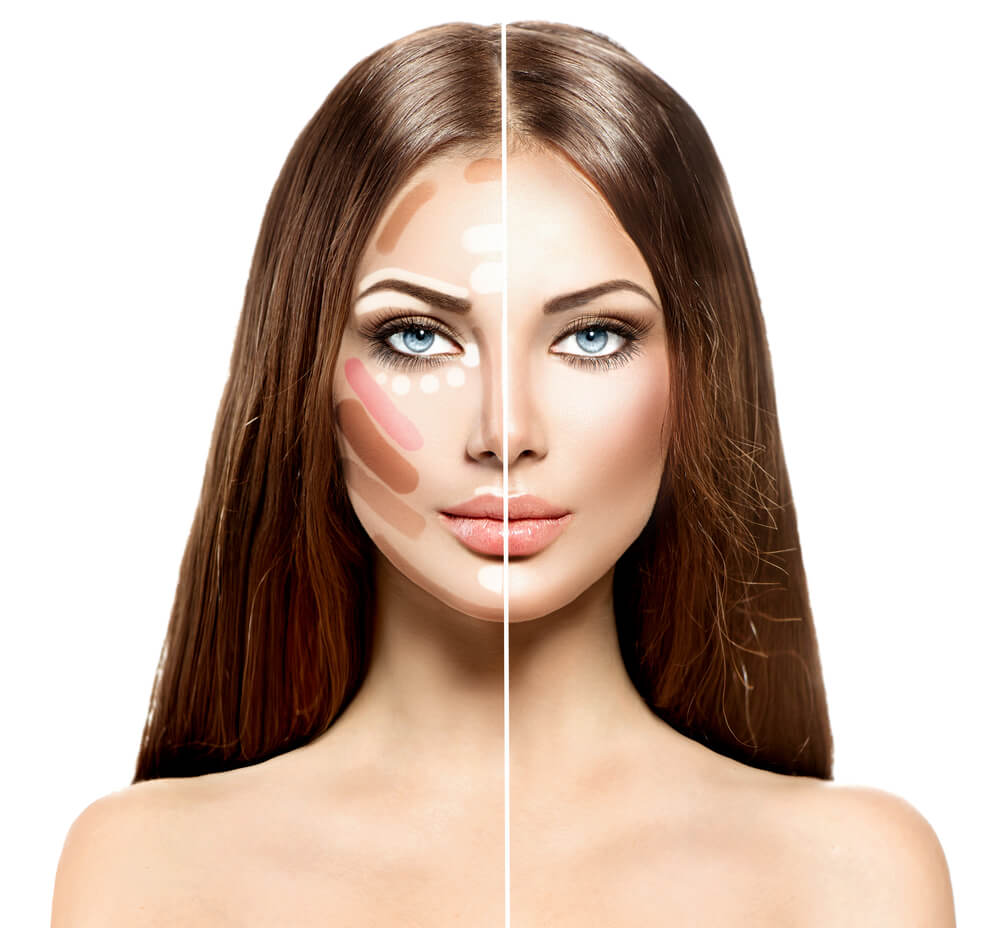
To contour your face, start by sucking in your cheeks and using a contour brush or sponge to apply the contouring product just under your cheekbones. Blend the product upwards towards your ears, making sure there are no harsh lines. Next, apply the contour product to the sides of your forehead, just above your temples, and blend upwards towards your hairline. Finally, use the same contouring product to contour the sides of your nose, blending it outwards to make your nose appear slimmer.
When contouring your face, it’s important to consider your face shape. For example, those with round faces may want to focus more on contouring their jawline and temples to create more definition. Meanwhile, those with prominent cheekbones may want to focus on contouring their cheekbones to make them stand out even more.
Step 4: Highlight Your Face
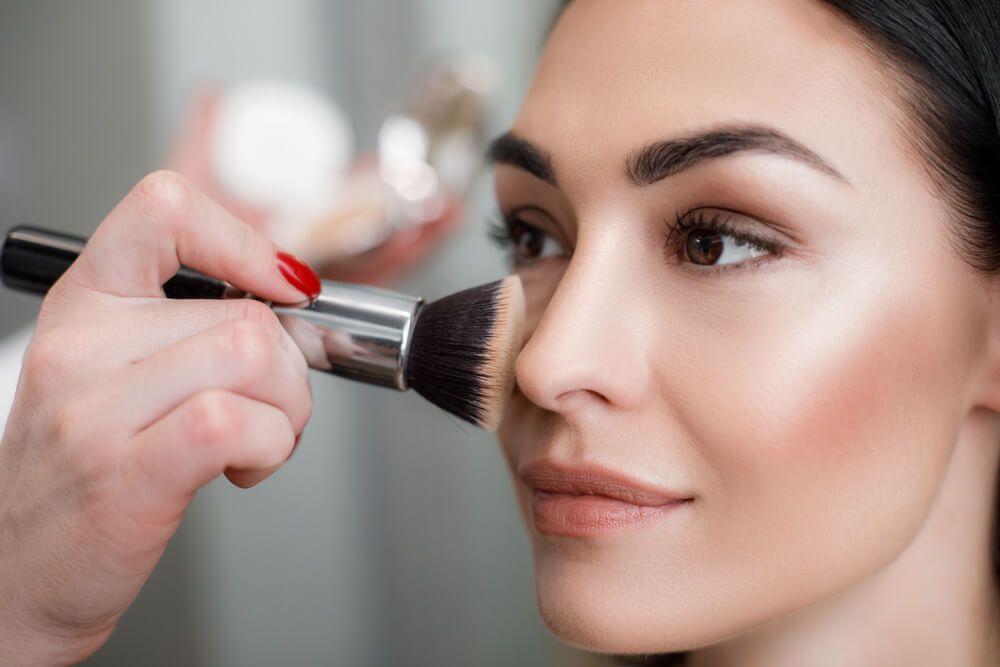
Highlighting is all about adding light to the high points of your face. To highlight, use a highlighting brush or sponge to apply the product to the tops of your cheekbones, the bridge of your nose, your cupid’s bow, and your brow bone. Make sure to blend the product well, as harsh lines will make your highlight look unnatural.
Step 5: Blend, Blend, Blend
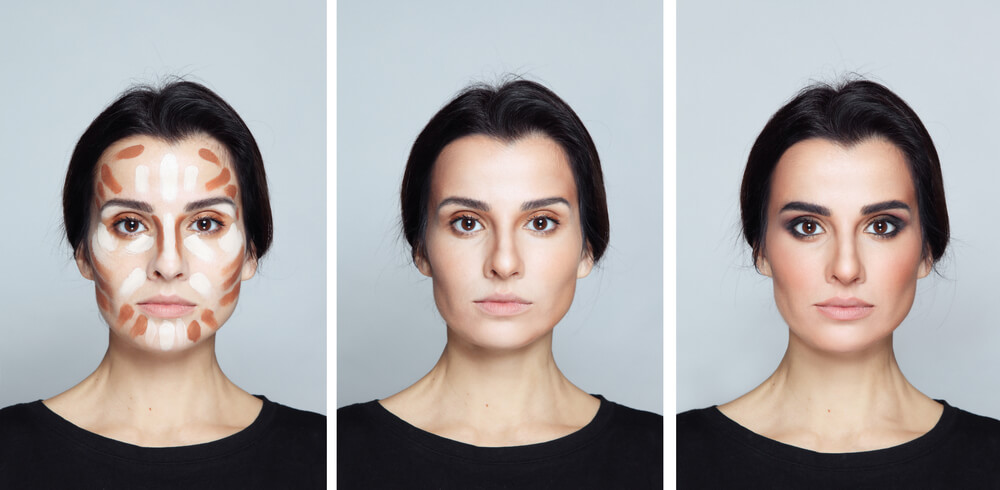
Blending is the key to making your contour and highlight look natural. Use a clean brush or sponge to blend your contour and highlight together, making sure there are no harsh lines or obvious distinctions between the two. You can also use a clean powder brush to blend everything together, giving your face a seamless finish.
It’s important to remember that blending takes time and patience. Take your time blending your contour and highlight until you achieve the desired effect. You can also use a beauty blender or sponge to blend everything together for a more natural and seamless finish.
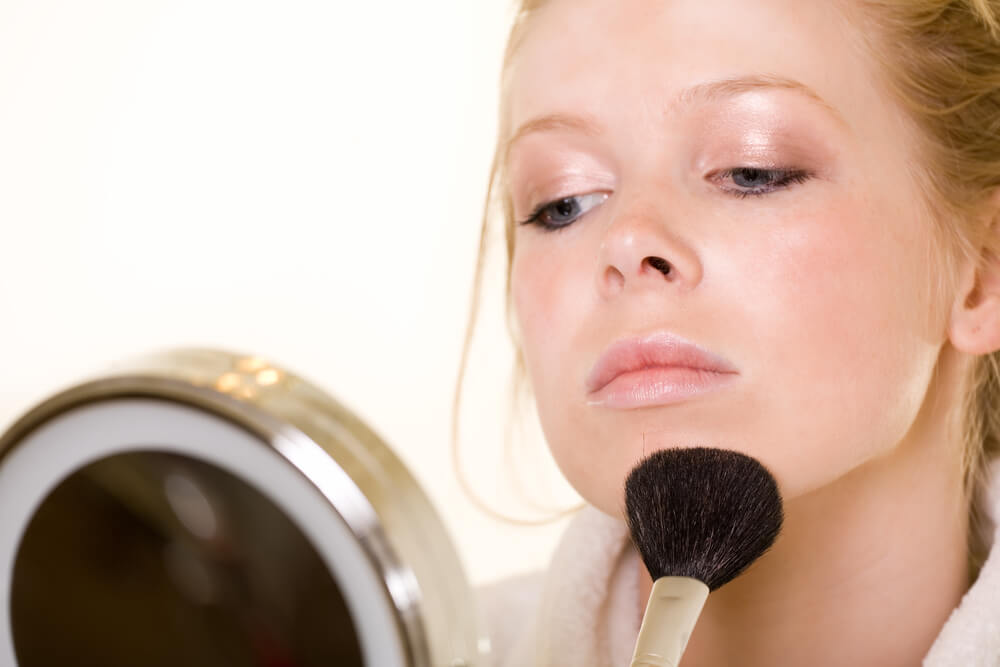
Step 6: Set Your Makeup
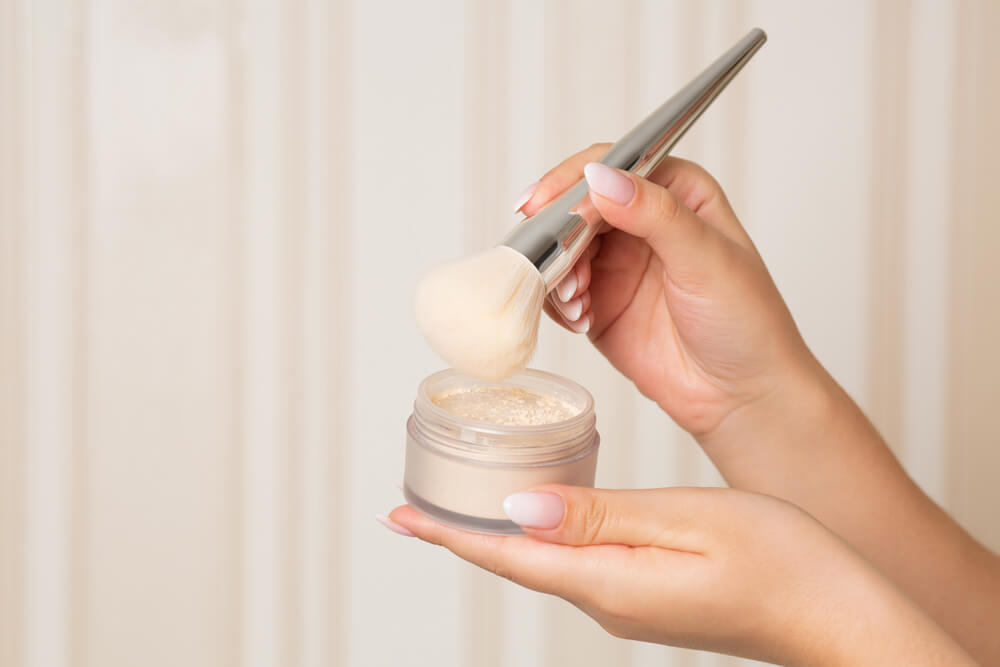
Once you’ve finished contouring and highlighting, it’s important to set your makeup with a translucent powder. This will keep everything in place and prevent any unwanted shine.
When selecting a setting powder, consider your skin type and personal preferences. If you have dry skin, a loose powder may work better for you, as it will provide a more natural finish. If you have oily skin, a pressed powder may be better, as it will provide a matte finish that will help absorb excess oil.
Step 7: Optional Finishing Touches

If you want to take your contour and highlight to the next level, there are a few optional finishing touches you can try. For a more natural look, you can use a cream contouring product instead of powder. You can also add a touch of blush to the apples of your cheeks for a pop of color. Finally, if you want to give your face an extra glow, you can use a setting spray with a dewy finish.
When it comes to selecting a blush, consider your skin tone and preferences. If you have a warm undertone, a peach or coral blush may work better for you. If you have a cool undertone, a pink or mauve blush may be better. When applying blush, smile and apply it to the apples of your cheeks, blending upwards towards your temples.
When selecting a setting spray, consider your skin type and personal preferences. If you have dry skin, a setting spray with a dewy finish may work better for you, as it will provide a hydrating finish. If you have oily skin, a setting spray with a matte finish may be better, as it will help absorb excess oil.
Contouring and highlighting may seem intimidating at first, but with a little practice, anyone can master these makeup techniques. Remember to choose the right products, prep your skin properly, blend everything together, and set your makeup with a translucent powder. With these tips and tricks, you’ll be able to contour and highlight your face like a pro in no time.
In addition to the traditional contour and highlight techniques, there are also newer, innovative methods to achieve a similar effect. For example, using a contour stick or crayon can make the process more precise and less messy. Similarly, a highlighting pen or stick can be used for precise highlighting in specific areas, such as the inner corners of the eyes or the cupid’s bow.
An important aspect to consider when contouring and highlighting is lighting. Makeup can look different in various lighting conditions, so it’s a good idea to check your makeup in natural light before heading out. This will give you a better idea of how your contour and highlight look and if any adjustments need to be made.
If you’re new to contouring and highlighting, it’s a good idea to start with a subtle look. Then, gradually build up to a more dramatic one. Practice makes perfect, and with time and patience, you’ll be able to achieve the look you want.
To help you get started, here are some additional tips and tricks for contouring and highlighting:
Use a light hand:
When applying contour and highlight products, it’s important to use a light hand to avoid looking too overdone. You can always build up the product gradually until you achieve the desired effect.
Blend downwards:
When blending your contouring product, make sure to blend downwards towards your neck to avoid any harsh lines or demarcations.
Use a smaller brush for precision:
If you want more precision when applying your contour and highlight products, use a smaller brush. This will help you apply the product exactly where you want it.
Experiment with different techniques:
There are many different contouring and highlighting techniques out there. Don’t be afraid to experiment with different methods until you find what works best for you.
Don’t forget your neck and décolletage:
When contouring and highlighting your face, don’t forget to blend the product down onto your neck and décolletage to avoid any obvious lines or differences in skin tone.
Consider the occasion:
Contouring and highlighting can be more dramatic or subtle depending on the occasion. For everyday wear, a more subtle look may be appropriate, while for special events, you may want to go for a more dramatic effect.
Practice makes perfect:
As with any makeup technique, practice is key to mastering contouring and highlighting. Don’t be discouraged if you don’t get it right the first time. Simply keep practicing and experimenting until you find what works best for you.
In conclusion, contouring and highlighting are makeup techniques that can enhance your natural beauty and add definition to your features. By choosing the right products, prepping your skin properly, blending everything together, and setting your makeup, you can achieve a flawless contour and highlight. Remember to experiment with different techniques and products to find what works best for you and your unique face shape. With these tips and tricks, you’ll be able to confidently contour and highlight your face like a pro.

Leave A Comment